What Should You Look For When Inspecting Braking Systems?
You need to consider several areas when inspecting whether your motorcycle brakes are working correctly.
Inspect the Brake Pads
The condition of the motorcycle brake pads is the easiest thing to determine on your motorcycle braking system. Worn brake pads indicate a problem because they won’t provide enough friction material to slow the bike down.
You should look for grooves (wear indicators) carved into the motorcycle brake pads. These indicator grooves are designed to show plenty of brake pad left. If you don’t see any sign of these wear indicators, it is time for new brake pads because they are under the minimum thickness.
Check The Brake Lever and Pedal
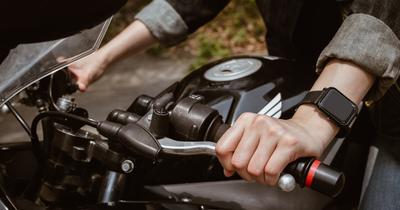
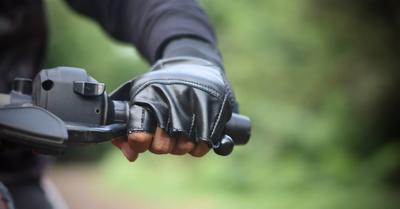
Since your motorcycle has two braking systems (one for the front activated by the lever on the handlebars and the other by a foot pedal for the rear), you should test both. Pull the front brake lever back to ensure firmness. If the “squeeze test” reveals a spongy feel or the brake lever moves back to the handlebar, your braking system needs maintenance. Inspect the motorcycle brake pedal (located on the right side) for any signs of a problem. The rear brake pedal can get bent into the bike (especially after a crash).
Because the lever (pedal) activates brake fluid from the master cylinder to engage the brake calipers pushing the pistons to engage the brake pads to scrape the brake rotors, it is important that these components operate correctly. A spongy feel or a lack of resistance means an issue and could result in a lack of braking power. A motorcycle brake lever that goes all the way down may indicate an issue.
If you notice that the rear or front brake lever is not functioning correctly, it may mean that your bike has a fluid leak in the brake lines or reservoir, a worn master cylinder, faulty brake calipers, or a problem with the brake lever itself.
Check The Brake Lines for Leaks, Cracks
Your motorcycle’s brakes have a closed fluid system, meaning the brake fluid gets used repeatedly. There should be no evidence of a leak (you shouldn’t see any fluid dripping from a connection or a clamp or tear in the hose). If you spot a leak or crack, it is best to immediately replace the line and the fluid.
Since brake lines are exposed to the elements, it is possible that they can become worn or develop cracks and begin to leak. Most manufacturers use plastic bleed caps that can become defective and begin to leak brake fluid.
If you notice a leak, it is crucial to determine the source before replacing any parts.
Check the Fluid Level in the Master Cylinder
Most motorcycles have two master cylinders which are designed to work independently of one another. One master cylinder is located on the rear tire directly above the brake pedal with its reservoir.
(There is usually a plastic reservoir on the bike’s handlebars. Determine if fluid is in the reservoirs and whether the fluids are at the appropriate levels. There should be high and low markings).
If you notice that the brake fluid is low, it can mean worn brake pads or a leak from a faulty line. (Better to replace the whole system with new fluid and monitor the line for leaks afterward).
One thing to determine is the color of the brake fluid inside the reservoir. The brake fluid should be almost transparent, with a hint of yellow. If you see that the fluid is browner or a deeper yellow color, then it is best to replace the brake fluid completely.
If you spot a leak, try to clean everything up to make it easier to identify where it originates. A brake master cylinder may need replacing, but it is just as likely that the plastic brake fluid reservoir might have become worn or cracked. The reservoirs are inexpensive and fairly easy to replace. (Don’t forget to bleed the system when you add new fluid).
Take a Short Ride To Test the System
Assuming everything on your bike checks out, take the bike for a short test ride to ensure that the brake’s essential components function correctly. While this kind of testing is very subjective, the real test for a motorcycle brake system is not while the bike sits on its kickstand but out on the road. The test doesn’t have to be long (just around the block a time or two), but you want to have confidence that the brakes will stop the bike when needed.
Follow Your Manufacturer’s Maintenance
The motorcycle’s manufacturer has a set period for regular maintenance. If it has been a while since you have had brake pads replaced or the rotors turned, then consider having brake service. A service center can check the brake calipers, pads, rotors, brake lines, and fluid levels to ensure everything is right.
What About A Mechanical Braking System?
Many bikes (mostly older ones) have mechanical systems with pedals, drum brakes, and steel-braided lines like a bicycle. You should perform an inspection for excessive pad wear, grinding noise, drums that are warped, and cables that are showing signs of fraying. While drum systems are rare, they are not uncommon and need to have regular maintenance so that they do not overheat and fail while you are riding on the road.


